Encrypting emails with Mailvelope
Installing Mailvelope
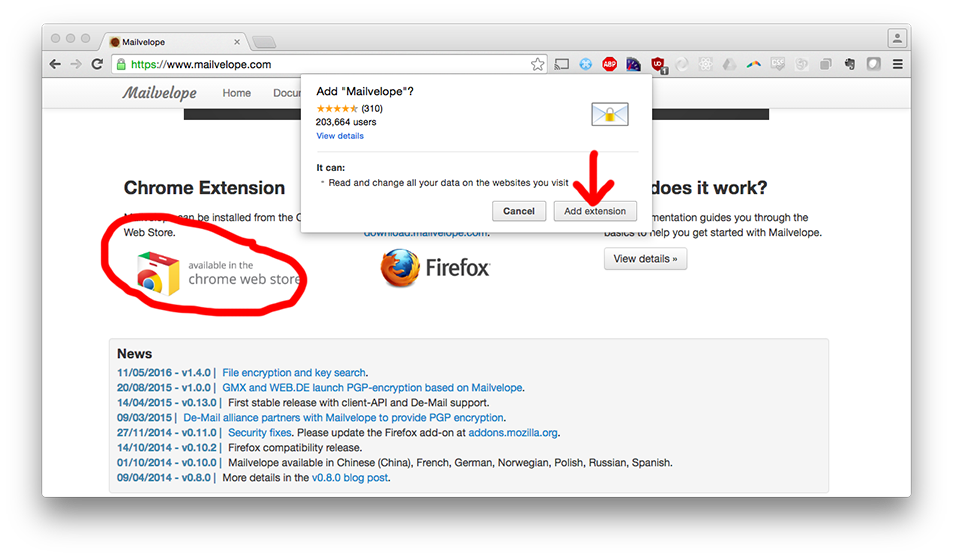
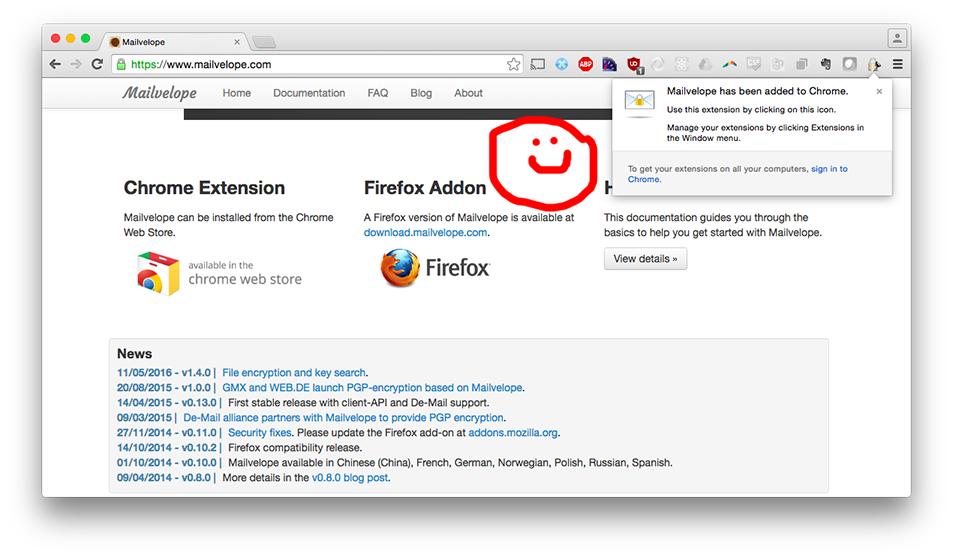
Open up Firefox or Chrome, then visit Mailvelope’s website. Scroll down to where it provides install instructions and install from either the Chrome app store or mozilla.org.
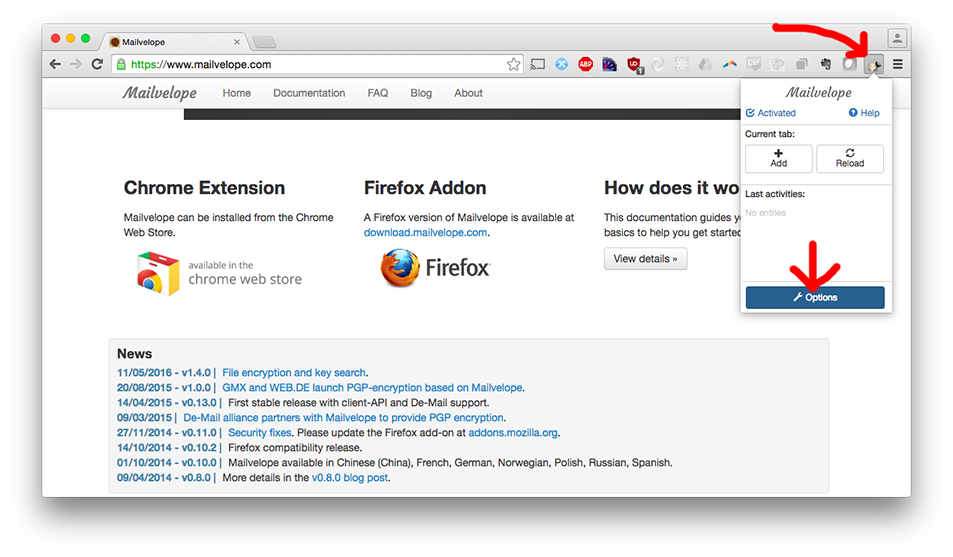
After Mailvelope has been installed, you need to click its icon, then Options.
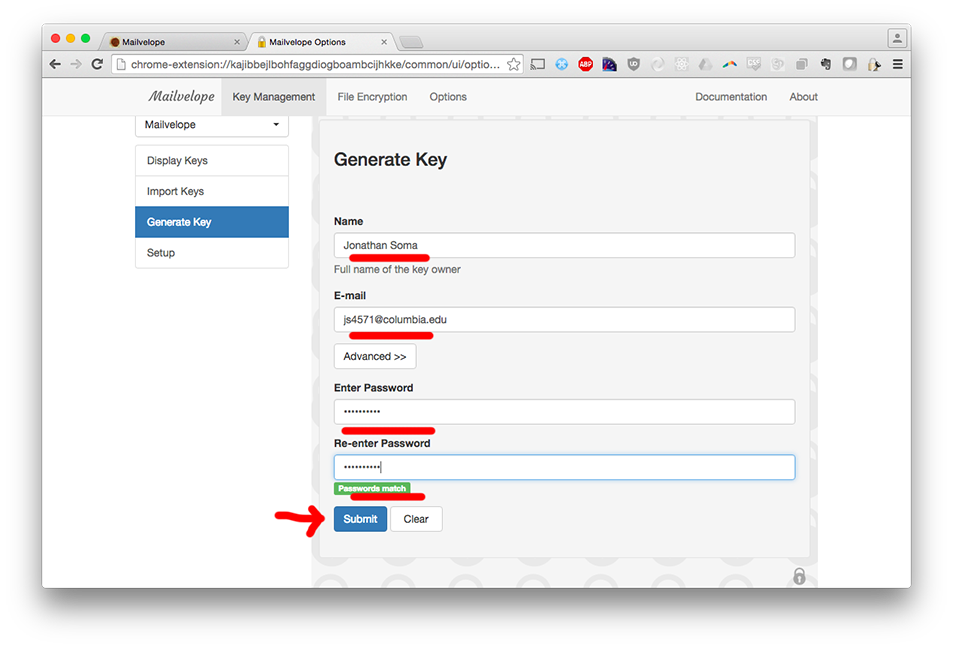
Now you will use Mailvelope to generate a public and private key. If you already have one you’d like to use, great! Just import them using the “Import key” section/button. We’re going to go through the generation process with these instructions. Click “Generate key.”

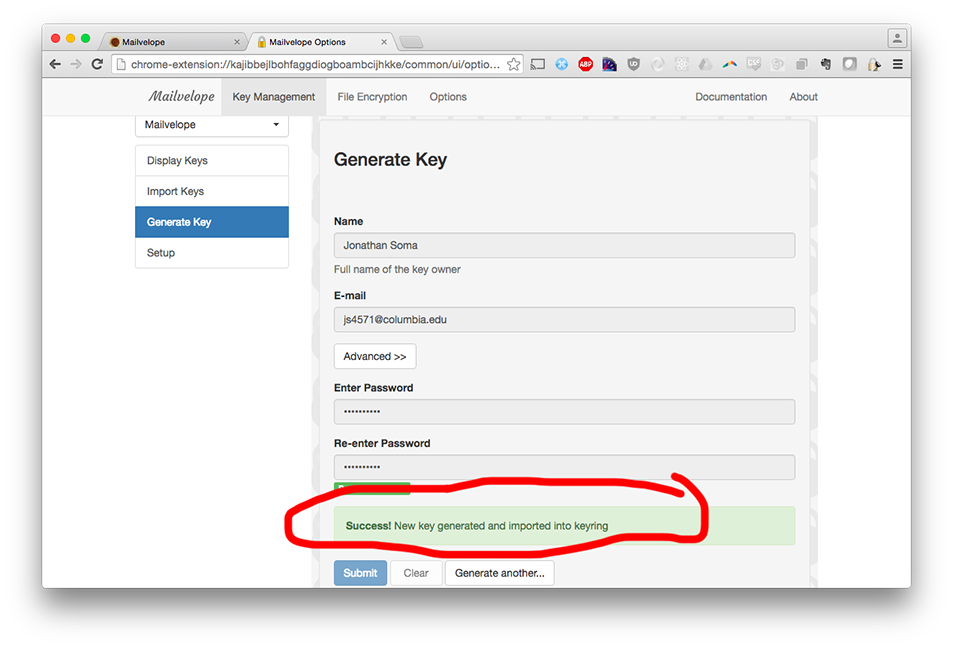
Enter your information and click Submit. After key generation has been completed, you’ll be notified by a little green box at the bottom near the submit button. Now you’re ready to use Mailvelope.
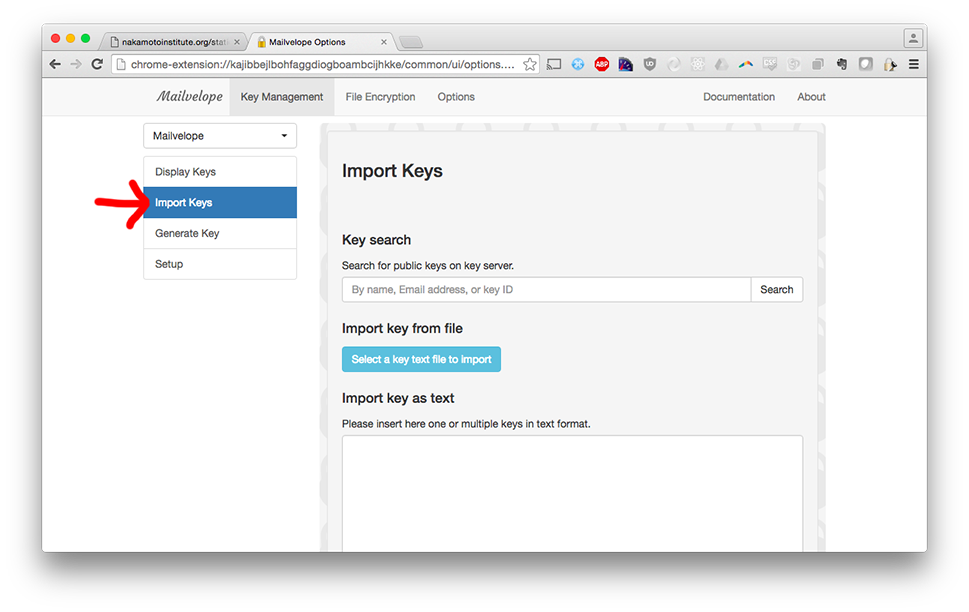
Adding other peoples’ public keys to Mailvelope
You’ll need to add a person’s public key before you can send them an email or verify their signatures. Open up Mailvelope options again
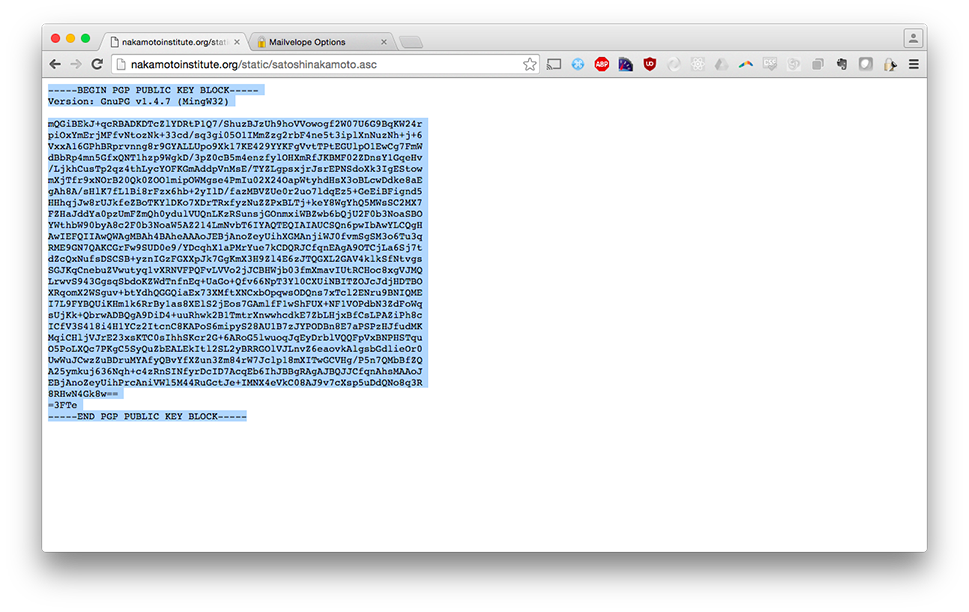
But this time select Import keys from the left-hand side. You can either upload a public key or paste one in. For this example, I’m cutting and pasting the key of Satoshi Nakamoto, the creator of Bitcoin.
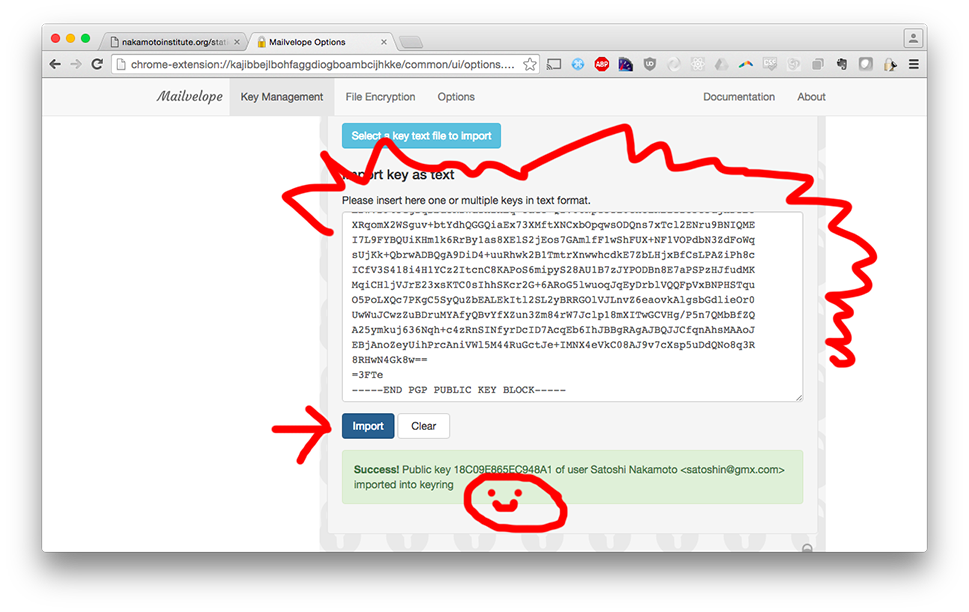
All set! To find someone’s key, your best bet is to check their web presence to see where they link to it, as anyone can invent a key for any name + email address combination.
Your keys in Mailvelope
Your keys are stored in Mailvelope. If you want to get them out, you’ll need to export them. If you uninstall Mailvelope, you’ll lose them.
Sending an encrypted email
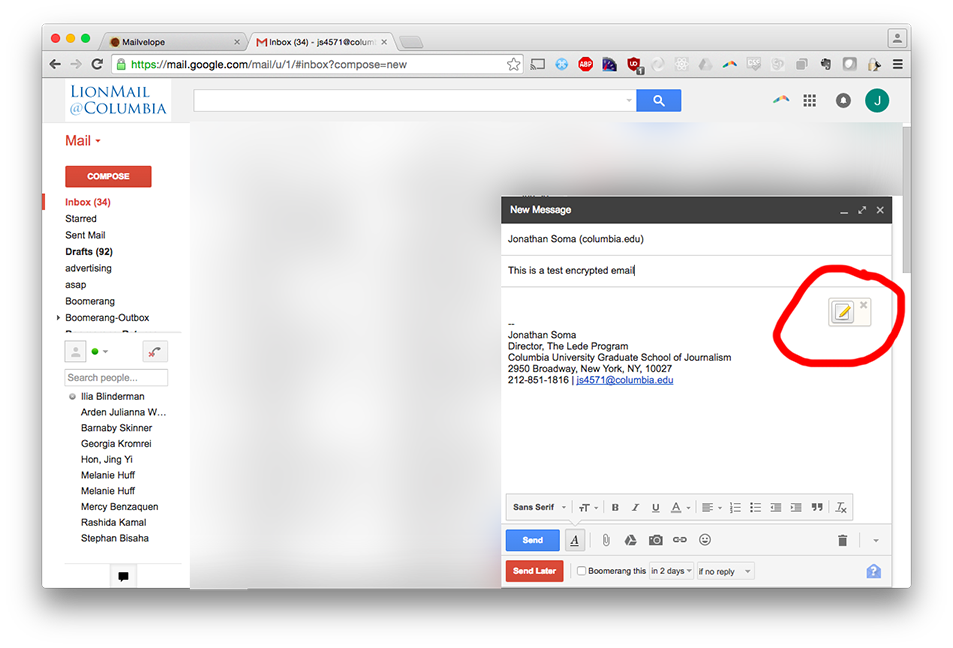
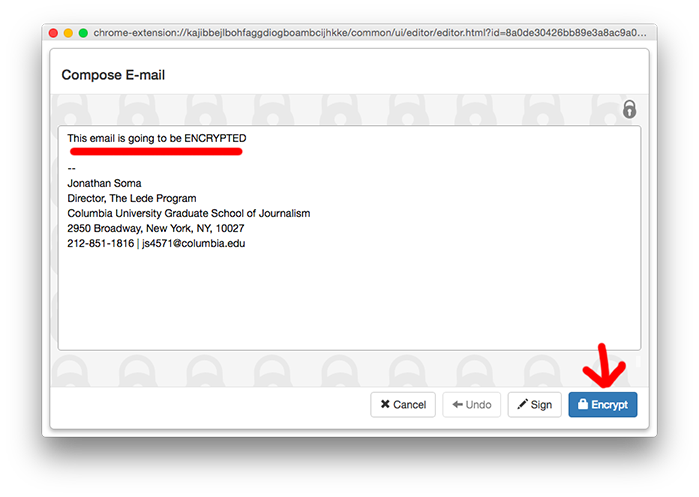
When you start to compose an email using your normal web-based email client, suddenly you have a magic new floating button! It’s the Mailvelope button. Click it before you start to type in the body of your email. If you type in the body of your email first, it will disappear.
Now you’re given a nice window to type in your encrypted message. Fill it out and click Encrypt.
Because you’re going to be encrypting this using a public key for someone else’s private key to unlock, you’ll need to specify who you’re sending the email to. I am sending it to… myself.
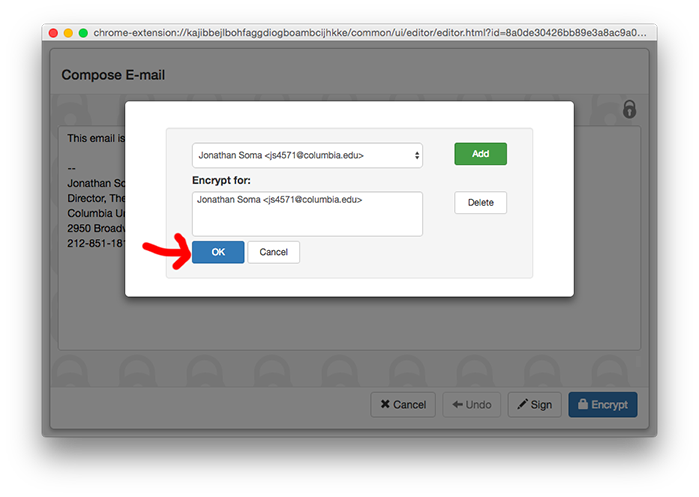
After you click OK your message is replaced with an encrypted version, and you can click Transfer to send it back to the Gmail compose window.
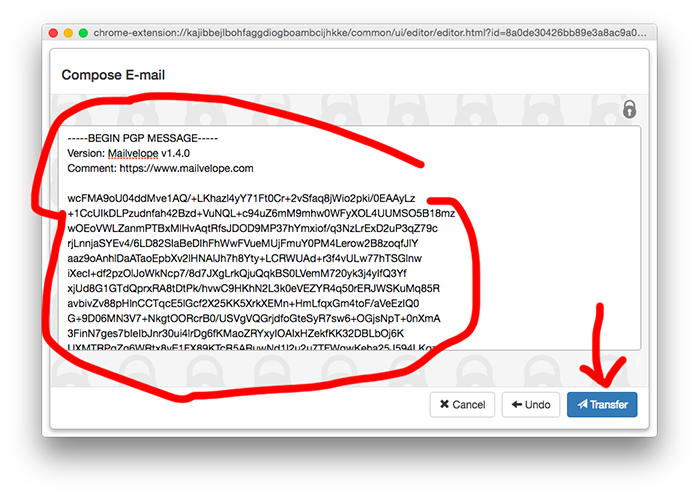
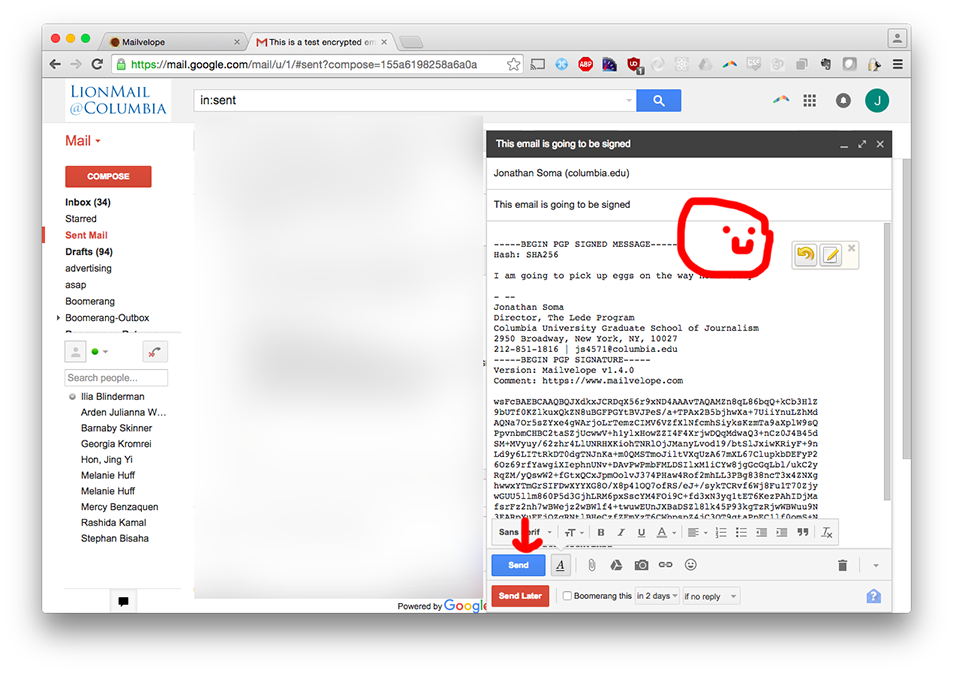
Then send it on its way! As long as your recipient has some sort of OpenPGP-compliant software (anything mentioned above) they’ll be able to read your message!
Reading an encrypted email
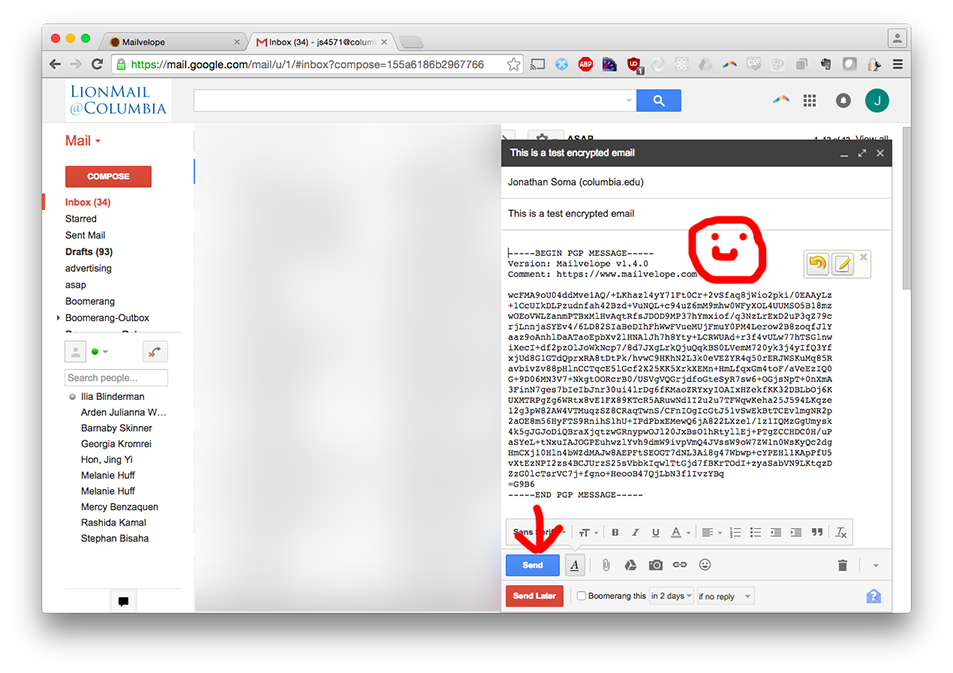
Now we’re going to read the message that I sent myself. First you open it up like any other email, but you notice something is different! There is a box over the message letting you know that it’s an encrypted email.

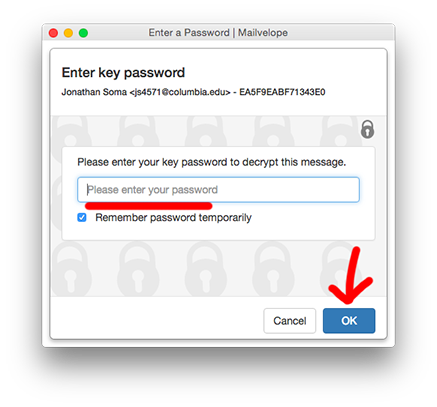
If you click it it will ask you for your key’s password (if you set one). Note that this is different than your email password, it’s the password you entered when creating your keypair. Enter the password.
Tada! Decrypted email, just for you.

Signing messages
Another thing you can do with OpenPGP is sign messages. Think of it like a wax seal on an envelope, or a fingerprint or digital signature next to some text - it proves that you, the owner of your private key, wrote some message, and it hasn’t been tampered with. Anyone with your public key can confirm it.
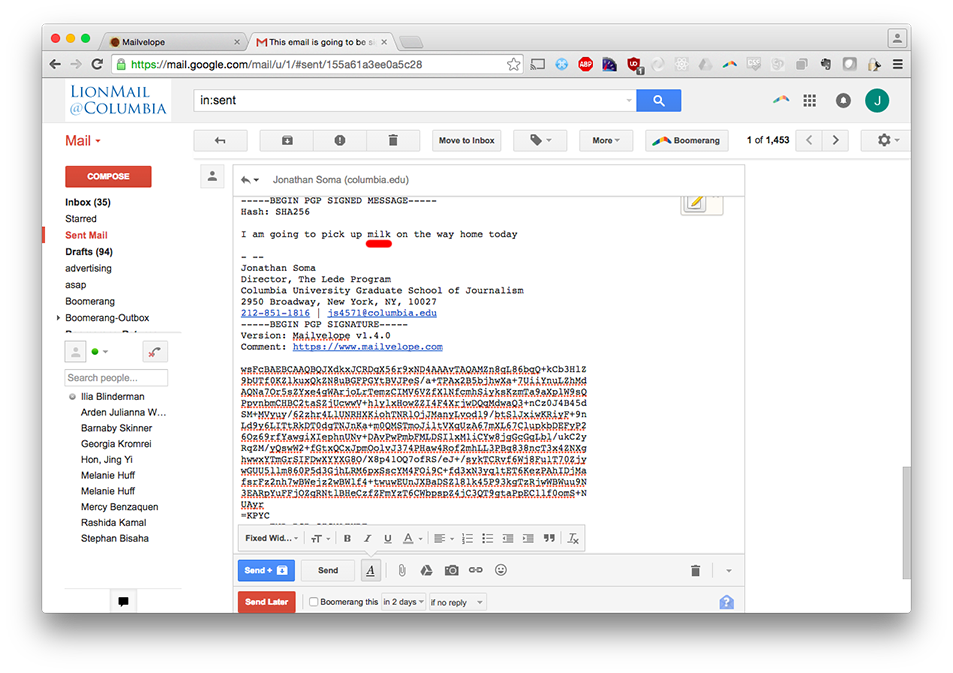
Start by composing another email, clicking the Mailvelope icon. When you get to the Mailvelope compose screen, though, be sure to finish by clicking the Sign button instead of the Encrypt button.
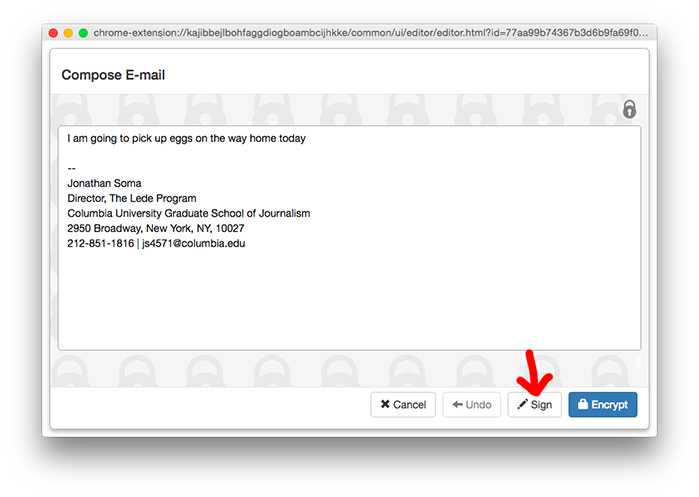
Pick who you’re going to sign it as, and you’ll see some new text added to the window.

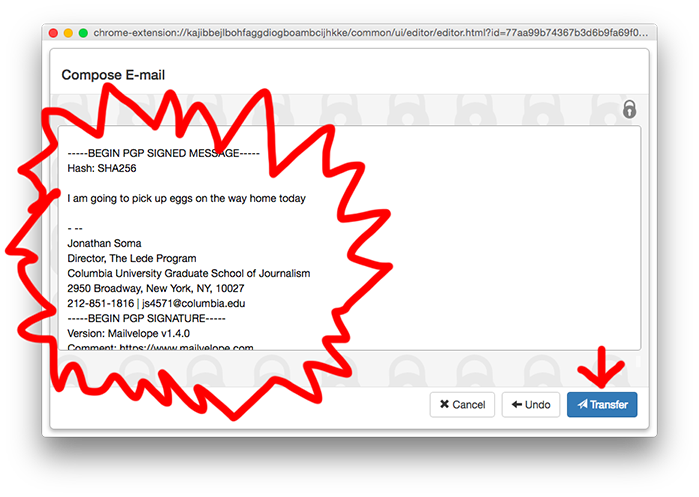
The important thing to note is that your message is still in plaintext, not encrypted. Anyone can read it! All you’re doing when you sign a message is proving it hasn’t been tampered with.
Checking signatures
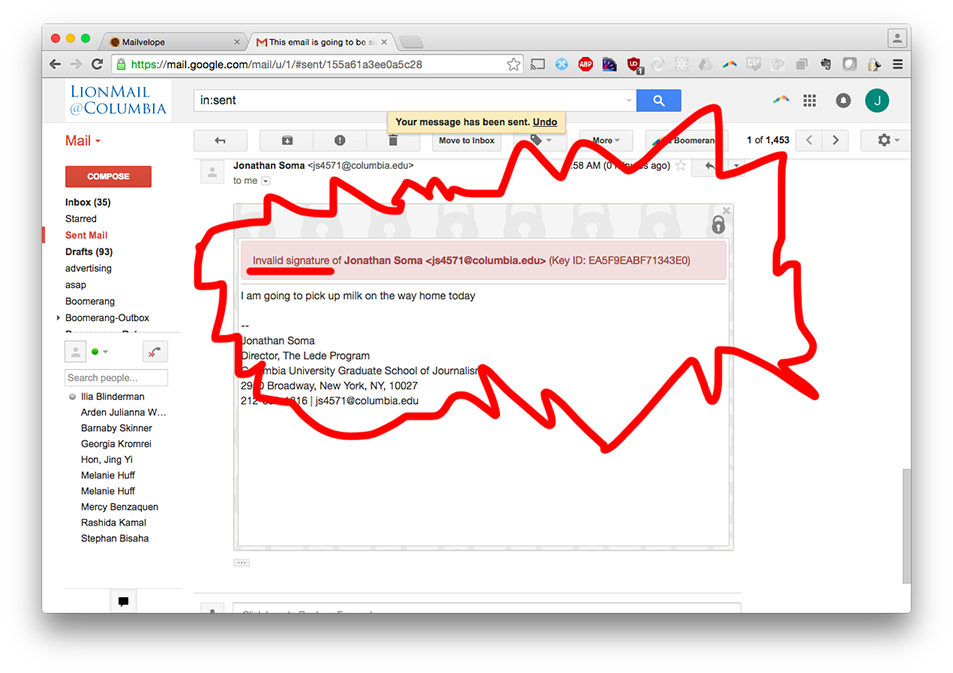
When you receive a message with a signature, you get a different magic box. It only covers the PGP SIGNATURE block, not the entire message.
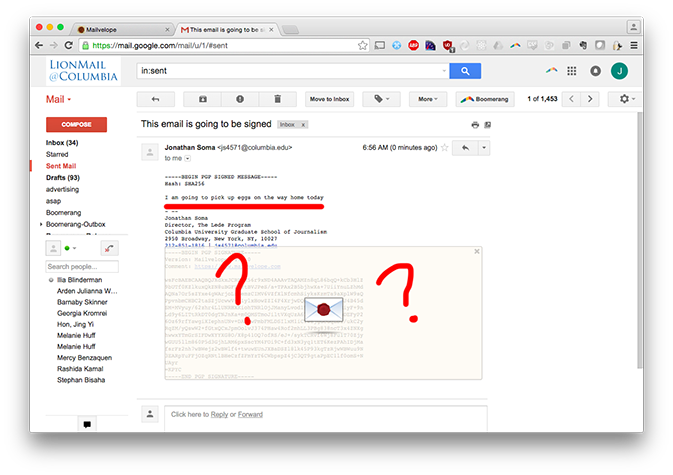
Click anywhere in that zone to see if the signature is valid.

I also re-sent the email to myself, changing the word “eggs” to “milk,” while not creating a new signature. You can see this fails the signature test.