Using OpenRefine on your Digital Ocean or AWS EC2 server
Running OpenRefine on a server - whether it’s a Digital Ocean server or an AWS/EC2 server - is pretty easy, and allows you a lot of flexibility to might otherwise not have.
When you run OpenRefine on your own computer, you’re running a “local server”, a.k.a. your computer becomes a server. This makes it easy to adapt to run on a real server! But why would you want to do that?
Need extra RAM for OpenRefine but don’t want to buy a new computer? If you run a Digital Ocean or AWS server, you can have all the RAM you want!
Trying to teach a class but not everyone has permissions to run or install OpenRefine on their machine? If you run a Digital Ocean or AWS server, you can create one server that everyone can use!
Create your server
Create a new server using Ubuntu. I’m using 4GB of RAM in the example below, but having more RAM is always better (note that it won’t run with only 1 gig of ram).
If you need help creating a new server, read my documentation on creating and setting up a Digital Ocean server. If you’re using AWS/EC2, that’s okay, the rest of this will be more or less the same.
Connect to your server
Use SSH to connect to your server as the root user. When I connect give the server a specific SSH key to use, which is the -i ~/.ssh/foundations_key part.
ssh -i ~/.ssh/foundations_key root@12.34.56.78
Instead of 12.34.56.78 you’ll use the IP address of your server. Mine in this case is 104.131.31.81.
When it tells you “The authenticity of host ‘12.34.56.78 (12.34.56.78)’ can’t be established” just type “yes” - your computer is just warning you it hasn’t seen the server before and wants to know if you can trust it.
Setting up the server
Once you’re connected, you’ll want to download and unzip OpenRefine. We’re specifically using the 2.8 release here, although by the time you read this a newer version might be out. We’re unzipping the .tar.gz file with the tar command.
wget https://github.com/OpenRefine/OpenRefine/releases/download/2.8/openrefine-linux-2.8.tar.gz
tar -xvzf openrefine-linux-2.8.tar.gz
Is there a newer OpenRefine out? Check their site - you can copy the “Linux kit” link.
Installing Java on the server
OpenRefine is a Java application, which means we need to install Java on the server. Install it with
apt install default-jre
JRE stands for Java Runtime Enviroment. It will ask if you really want to install it (yes!) and take a little time to download and install all of the pieces.
If you get the message
Error: Could not find the 'java' executable at '', are you sure your JAVA_HOME environment variable is pointing to a proper java installation?when trying to run OpenRefine later, Java was not successfully installed.
Running and connecting to OpenRefine
All of the documentation out there says “just run ./refine,” but that only works if you’re using a Linux laptop. We’re using a server, so we need to allow connections between our computer and the server!
WARNING: OPENREFINE IS GOING TO START VERY, VERY, VERY SLOWLY. It might take 20 minutes! I’ve spent hours trying to figure out why but I just can’t. Sorry! It works once it’s up, though.
Changing how much memory OpenRefine uses
OpenRefine uses a lot of memory/RAM if you’re doing work on a large dataset. By default it uses very little RAM (only a gig!)
If you want OpenRefine to use more of the RAM on your machine, you’ll want to use the -m option to set the amount of memory it can use. An easy way to think about the right setting is to take the gigabytes of RAM, subtract 1, then multiply by 1000.
| RAM | RAM for OpenRefine | Command |
|---|---|---|
| 1 GB | It won’t run! | x |
| 2 GB | 1 GB | ./openrefine-2.8/refine -m 1000M |
| 3 GB | 2 GB | ./openrefine-2.8/refine -m 2000M |
| 4 GB | 3 GB | ./openrefine-2.8/refine -m 3000M |
| 8 GB | 7 GB | ./openrefine-2.8/refine -m 7000M |
| 16 GB | 15 GB | ./openrefine-2.8/refine -m 15000M |
Technically you should be multiplying by 1024, but I wanted to keep it simple.
If you’re using an external server like you see below, you’ll need to add the
-icommand to this one. For example,./openrefine-2.8/refine -m 7000M -i 0.0.0.0will run an open-internet OpenRefine server using 7 gigs of RAM.
Connecting to the server
There are two ways to connect to the server: one is secure, one is not!
Method 1: SSH tunneling to connect to the server (the secure way)
This method is the same way we connect to Jupyter servers. We build a little tunnel from our machine to the Digital Ocean server, and that way no one else on the internet can see what we’re doing.
From your own command line (not the server), run the following command:
ssh -i ~/.ssh/foundations_key root@SERVER_IP_ADDRESS -L 3333:localhost:3333 -t "./openrefine-2.8/refine"
-i ~/.ssh/foundations_keyis the location of your Digital Ocean keyroot@SERVER_IP_ADDRESSlogs in asrootas the IP address (actually type IP address in!)-L 3333:localhost:3333redirects port7777on our machine to the same port on the server-tmeans “we’re going to run a command once we connect”./openrefine-2.8/refineruns a Jupyter Notebook server on the remote machine on3333.
Now to visit the server, just go to http://localhost:3333. And when you’re done, all you need to do is Ctrl+C in the terminal to close the connection and shut down OpenRefine.
If you want to use more RAM than the default, change -t "./openrefine-2.8/refine" to -t "./openrefine-2.8/refine -m 3000M" (see above).
This method only allows access from your computer.
Method 2: Allowing the internet to access OpenRefine
Maybe you’re demonstrating OpenRefine, or sharing it with others. In that case you need to allow people from the general internet to access it.
First, ssh to the server.
Second, run the following command.
./openrefine-2.8/refine -i 0.0.0.0
The -i 0.0.0.0 means “show what we’re doing to the ENTIRE INTERNET.” You can access the server by visiting http://12.34.45.78:3333, but using your server’s IP address instead of 12.34.56.78.
If you’d like to use more RAM, you’ll also add in the
-moption to create something like./openrefine-2.8/refine -i 0.0.0.0 -m 3000M(see above).
Securing your “entire internet” OpenRefine
If you want to only show your OpenRefine to some of the internet, you can make a list of IP addresses that are okay to allow connections from.
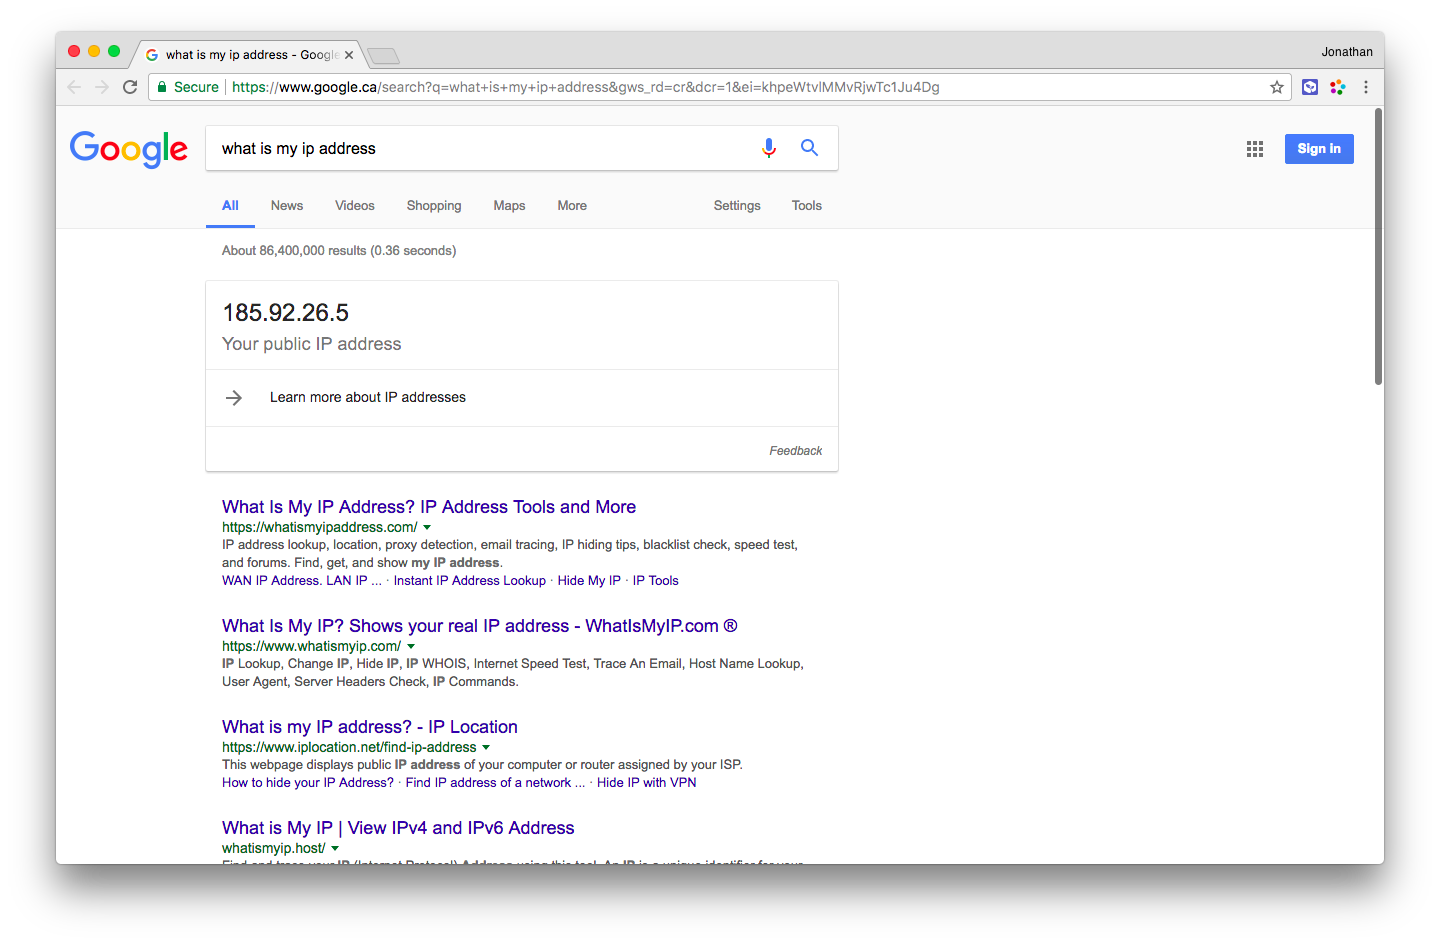
Step 1: Find out your IP address
Not your server’s IP address, your own IP address. You can just type “what is my IP address?” into Google and it will tell you. In this example, mine is 185.92.26.5.
We want to tell the server to only accept port 3333 connections from 185.92.26.5.
Step 2: Add an iptables rule
iptables is the command you use to update firewall rules on your server. If you’re currently running OpenRefine on your server, stop it by pressing Ctrl+C.
Now we’re going to say “only accept connections from my computer’s IP (185.92.26.5) for port 3333” (be sure to use your computer’s IP address, not mine!). Run the following command, replacing my IP address - 185.92.26.5 - with yours:
iptables -A INPUT -p tcp -s 185.92.26.5 --dport 3333 -j ACCEPT
iptables -A INPUT -p tcp -s 0.0.0.0/0 --dport 3333 -j DROP
The first command allows connections from 185.92.26.5 (ACCEPT), and the second command blocks them from every other IP (0.0.0.0/0, DROP).
If you want to allow connections from multiple IP addresses instead of just yours, you’ll just want to type in more lines before the DROP one, like this:
iptables -A INPUT -p tcp -s 185.92.26.5 --dport 3333 -j ACCEPT
iptables -A INPUT -p tcp -s 12.34.56.78 --dport 3333 -j ACCEPT
iptables -A INPUT -p tcp -s 22.33.44.55 --dport 3333 -j ACCEPT
iptables -A INPUT -p tcp -s 0.0.0.0/0 --dport 3333 -j DROP
If you made a mistake, just run
iptables -Xand theniptables -Fto clear the settings and start over.
Step 3: Run OpenRefine again
Now you need to run OpenRefine again with the same command as before (on the server).
./openrefine-2.8/refine -i 0.0.0.0
If you messed something up
Did you mess something up? Can you not connect any more? Undo your changes to iptables by running the following two commands on your server:
iptables -X
iptables -F
Running the server after you’ve disconnected
If you’d like to keep your server running after you’ve disconnected, you need to run it in the background, and make sure it doesn’t stop when you disconnect. To do this, we add two pieces to our OpenRefine command.
nohupis going to keep OpenRefine running after you disconnect&is going to run OpenRefine in the background
nohup ./openrefine-2.8/refine -i 0.0.0.0 &
Now you can type exit to leave your server but still be able to access it through the web. If it isn’t working yet, be sure to wait a few minutes for OpenRefine to start before you panic!
Stopping OpenRefine if it’s running in the background
Connect to the server, and run this command to stop OpenRefine
killall java
This will tell all java programs to exit (you’re hopefully only running OpenRefine!).